Quilt Backing Calculator
I am often asked by my clients and others who know I longarm how much larger the backing needs to be than the quilt. I prefer 8 inches per side so 16 inches need to be added to the height and width.
The calculator below will give you quick answers - just enter the quilt length and width in the yellow boxes and the dimensions of the Backing will be displayed, along with how many yards of fabric are needed. The lower section is for our friends in Canada, Europe, Australia, and elsewhere that use the metric system. Below the calculator is information on why the backing needs to be larger than the quilt top with some pictures that help explain.
If you don’t want to sew seams to create the Backing Fabric using smaller pieces, Backing Fabric up to 108 inches wide is available from Hancocks of Paducah, Fabric.com, and even Amazon.com.
Bookmark this link Backing Calculator to have ready access to this calculator wherever you are.
There are several reasons the Backing Fabric needs to be several inches wider and longer than the quilt top. The calculator above adds 8 inches to each side - some quilters prefer more, some less, and the 8 inch target allows some safety margin for “eyeballing” instead of measuring.
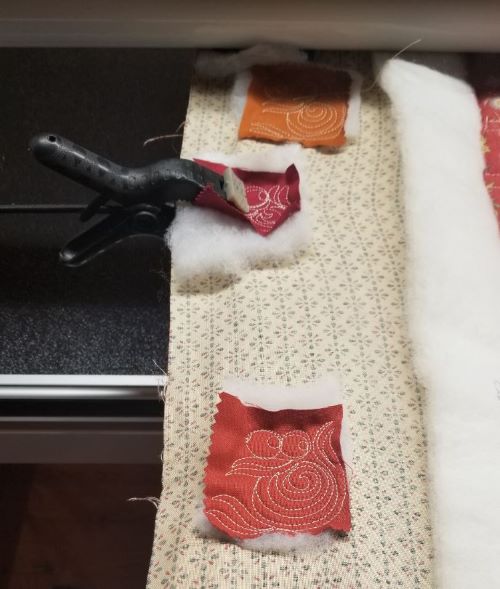
The first reason is shown in the picture below - the longarmer needs several inches of backing to provide a clamping point for the side-bungee-cord clamps that keep the quilt taught from left-to-right, and also to allow space for “tension-test blocks” as shown on the bottom. Each time the bobbin is changed, tension needs to be verified before quilting begins to ensure both top and bottom tension are proper - this is done by testing a few hundred stitches in a tension block. Secondly, the bobbin hook has to be lubricated each bobbin change, and the tension test area allows any excess lubricant to get spun away in the test area outside the quilt top so there will be no mess on your masterpiece.
Tension Test Patch and Side Clamp
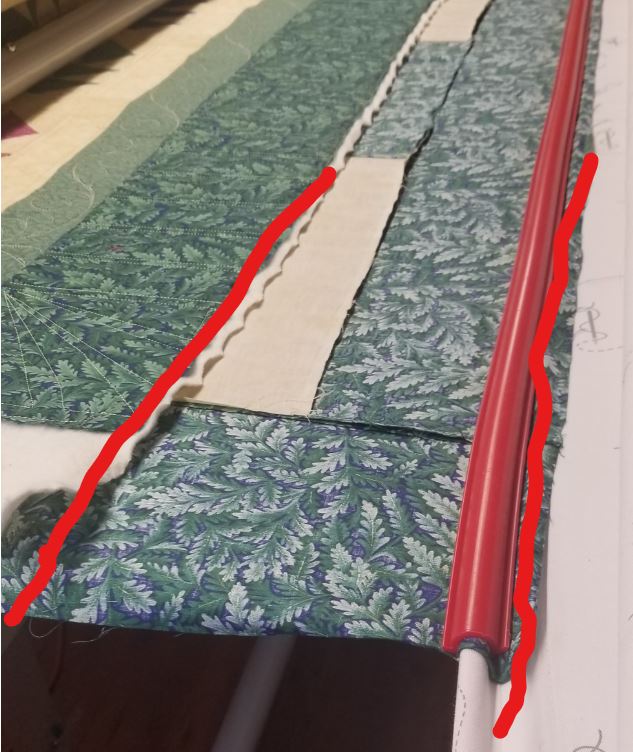
The backing serves as a “foundation” for the quilt top, and at both the bottom and top of the quilt as seen in the pictures below there needs to be enough backing overage to:
Allow stitching space to keep the needle several inches away from the attachment to the leaders, whether pins, snappers, or clamps. The attachment points have “hard” parts that are bad news if you hit them with the needle, possibly breaking the needle and knocking the machine out of correct timing bringing the quilt project to a standstill.
Provide enough space to keep the machine head and needle area away from the top and bottom idler bars - hitting these could also create havoc like poor stitching, broken/bent needle, and knocking the machine out of timing.
Allow several inches of clearance from the stitching area to the clamping point - pins, snappers, or clamps can bounce the fabric on the machine throat or ruler plate causing stitch quality issues - remember at top speed the needle is hammering more than 40 stitches PER SECOND - doesnt take much fabric variance to affect stitch precision.


